How To Add Lights To An Image In The Mockup Tool
To add lights to your image, click the pencil icon to enter draw mode.
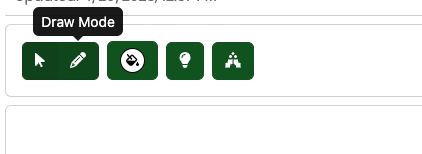
Next, click on the first point where you would like the lights to begin. Then, click on the point where you would like the lights to end. You will see the strand of lights appear on the image.

You have a few options for settings for these lights.
Light Sizing and Spacing
To edit the amount of space between each light, and to edit the size of each individual light, click on the lightbulb icon.
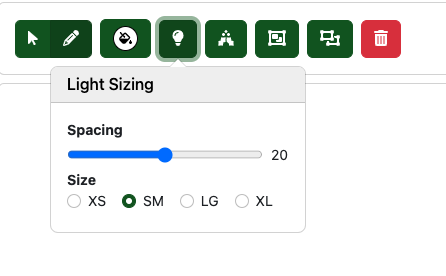
This will give you a few different options for editing the spacing and sizing of the individual lights.
Light Color
To edit the color of the lights, click on the paint bucket.
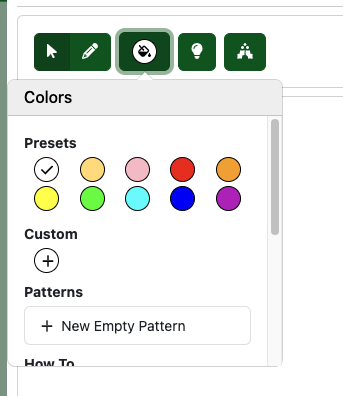
For ease of use, we have included a set of preset colors that you can choose from. Left-click or tap on a color to select or apply.
Custom Colors
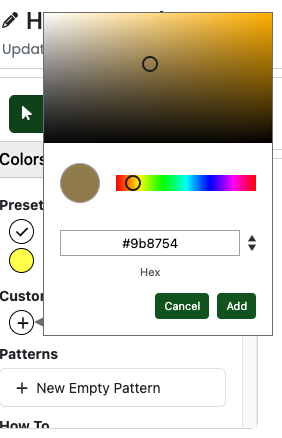
If there is a color that is not shown that you use frequently, you can add a custom color by clicking the plus icon under custom. This will open a color picker where you can get the exact color you would like. To remove a color from the custom presets, right-click on the color (or long press for mobile devices).
Color Patterns
To create a color pattern for lights, click “New Empty Pattern”. Then, left-click and drag a preset or custom color to a pattern to add that color to the pattern.
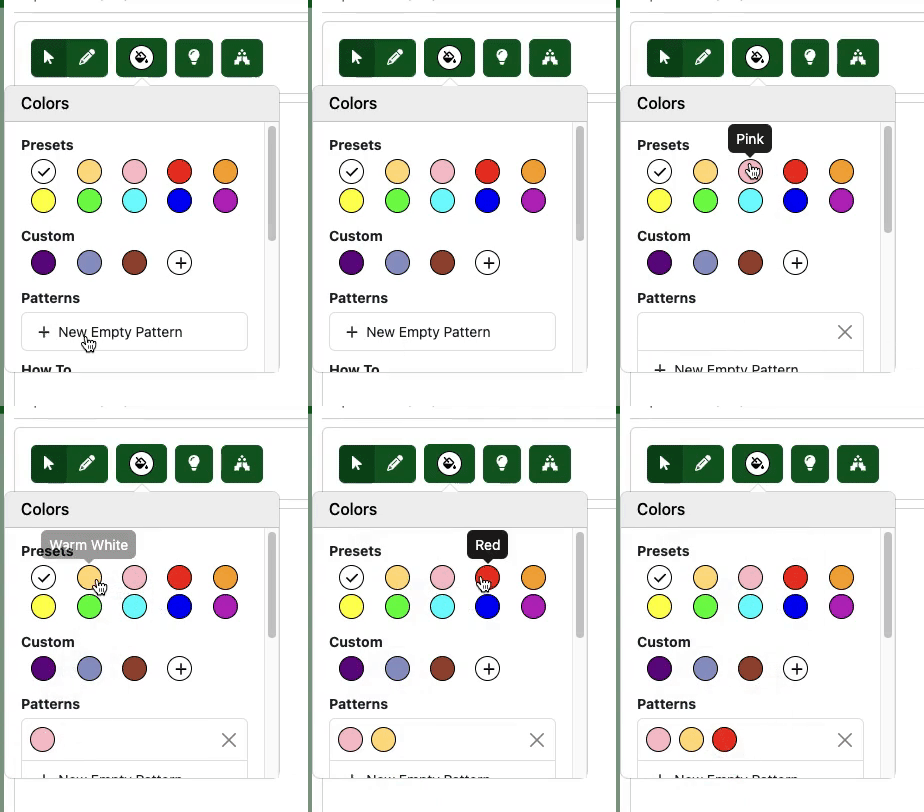
Click on the pattern to apply it to your lights.

Light Brightness
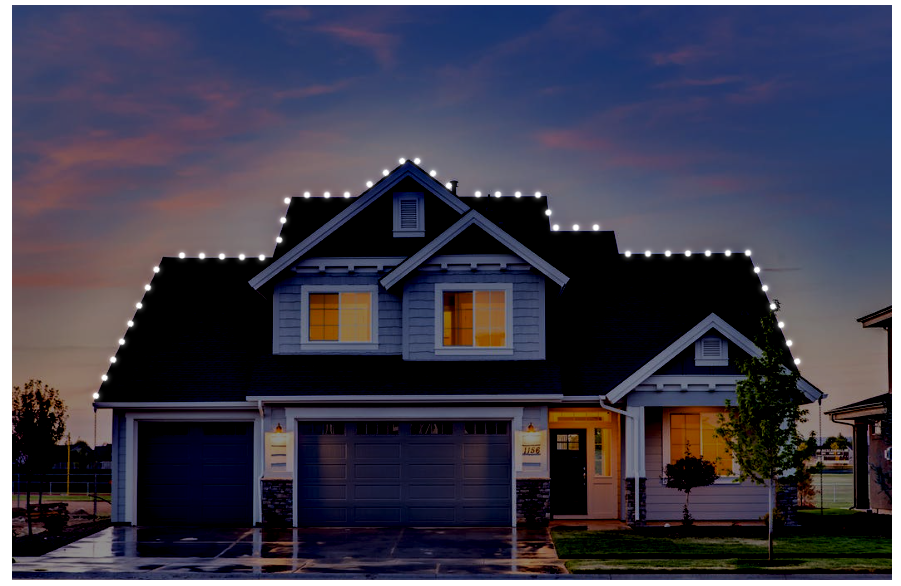
To make your lights stand out, you have the option to change the brightness of the original image. This is located in the upper right corner of the mockup tool. Drag the slider to the left to decrease the brightness, and to the right to increase the brightness.

NOTE: The Tinsel Mockup Tool is currently in beta and is subject to change.

0 Comments